Why travel photos get messy (and why it’s normal)
Trips create a perfect storm:
- Burst shots and repeated attempts to get “the one”
- Mixed sources (camera, screenshots, WhatsApp/Telegram saves, friends’ AirDrops)
- Multiple locations in one short time window
- Edited copies (cropped, filtered, exported versions)
- Low-value clutter (tickets, receipts, maps, hotel confirmations)
Your goal isn’t a perfectly clean camera roll. It’s a system where your best shots are easy to find, clutter doesn’t bury your highlights, and organizing takes minutes — not hours.
The 3-level system: Highlights, Albums, Archive
The fastest method is to separate your trip into three layers. Once you do this, everything gets easier:
1) Highlights (what you’ll actually look at)
The top 20–80 photos from a trip: the moments you’d show a friend.
2) Albums (structured collections)
One album per trip or city, sometimes split into themes.
3) Archive (everything else)
Not garbage—just not what you want in your face daily.
Once you adopt this, organization becomes simple: pick highlights first, then give them a home. Everything else can live in the archive.
Step 1: Do a fast cleanup pass first (10 minutes)
Before you start organizing, do a quick “obvious junk” pass. You’re not trying to be perfect — you’re just clearing the low-hanging fruit.
Quick-delete list
- Accidental pocket shots
- Blurry misses (unless meaningful)
- Screenshots you no longer need (boarding pass, reservation)
- 10 identical photos where 1 is clearly best
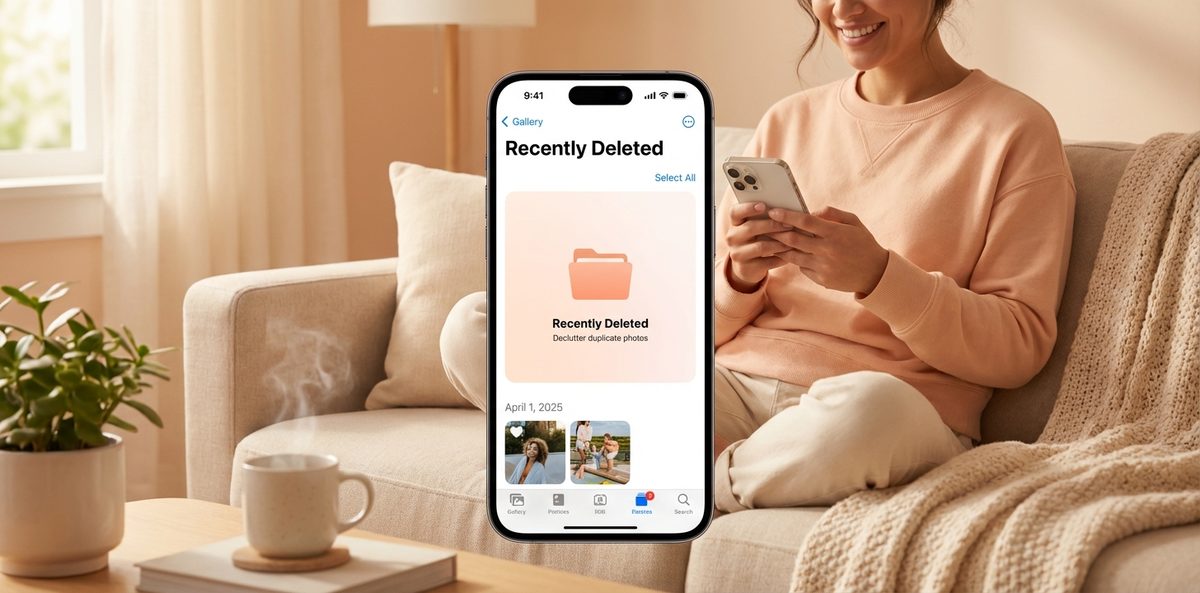
On iPhone: check Photos → Albums → Screenshots and Photos → Albums → Duplicates (merge when available). Don’t overthink this step — just remove what clearly doesn’t belong.
Step 2: Pick the “best shot” from each moment
Travel photos come in clusters: 12 shots of the same street, 20 selfies at the same viewpoint, 30 photos of the same meal. Instead of choosing from the entire trip at once, decide moment by moment:
- Select a cluster (same location/time)
- Pick 1–3 keepers
- Delete (or archive) the rest
Simple rule: if you wouldn’t post it, frame it, or show it to a friend, it probably doesn’t belong in your Highlights.
Where DSTLL fits in
This is the step that takes forever if you do it manually. DSTLL speeds it up by ranking shots by aesthetics and grouping near-identicals — so you review the top picks first, choose a winner per moment, and clean the rest in one pass.
Step 3: Create albums you’ll actually use
Most people create albums like “Japan” or “Italy 2026”… and never open them again. Albums work better when they’re specific and emotionally meaningful.
Option A: One album per trip + simple sections
“Japan — Tokyo & Kyoto (Spring 2026)” with sections: Highlights, Food, Streets, People, Night.
Option B: City albums (best for multi-city trips)
“Tokyo — Highlights,” “Kyoto — Highlights,” “Osaka — Night.”
Option C: Theme albums (best if you travel a lot)
“Views & Lookouts,” “Street Food,” “Cocktail Bars,” “Hotels Worth Remembering,” “Museums Worth It.”
Pro tip: Keep names consistent so you can search them later.
Step 4: Tag the true favorites
Albums help, but the fastest highlight system is:
- ❤️ Favorites
- A “Best of 2026” or “Travel Highlights” album
Recommended: Favorite the best 10–30 photos from the trip and add them to a “Trip Highlights” album. Now posting and sharing takes seconds.
Step 5: Back up travel photos properly
Travel photos are irreplaceable — aim for at least two copies. A solid setup is iCloud Photos (sync) plus one true backup (Google Photos, or an external drive + computer import).
Step 6: A repeatable post-trip workflow (30 minutes max)
The “30-minute travel photo reset”:
- Delete obvious junk (5 min)
- Pick best shots from clusters (15 min)—DSTLL makes this step dramatically faster by surfacing the best shot from each series.
- Favorite the top 10–30 (5 min)
- Create a Highlights album (5 min)
Done. Your trip is organized, and your best photos are actually findable.
The smartest habit: organize during the trip
If you travel often, do tiny sessions: each evening, favorite 3–5 photos. Create one “Trip” album on day 1 and add highlights as you go. You’ll come home organized.
FAQ
How many photos should I keep per trip?
Good target: 30–80 highlights, 10–30 favorites.
Should I delete everything that’s not a highlight?
Not necessarily. Keep what matters emotionally—just remove duplicates and near-duplicates so your library stays usable.
What’s the #1 mistake people make?
Trying to organize the entire trip in one sitting. Instead: clusters → keepers → highlights.
Final takeaway
The goal isn’t to delete memories — it’s to make your best ones easy to find. If you want your strongest shots and near-duplicates surfaced in one place, try DSTLL and spend less time scrolling and more time reliving the trip.